Friday, 26 November 2010
Learning to render in smooth preview
Kofi's Character/Issues


Wednesday, 24 November 2010
Positive Feedback from David Bull
Character Concepts
Zbrush and issues
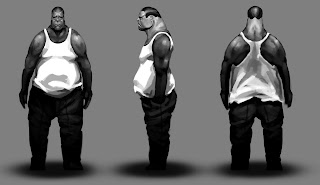
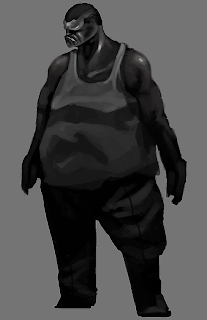
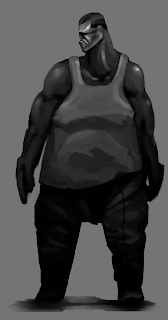
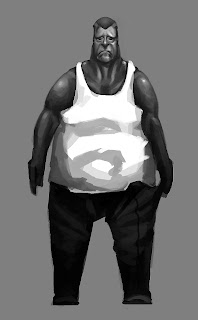
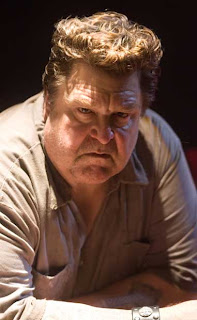
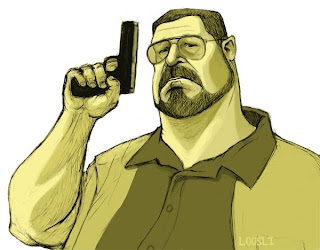
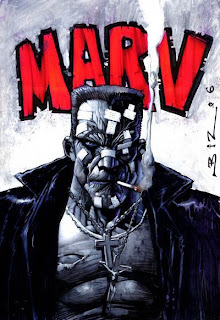
My Character designs for Frank


Frank/Designing the character
Wednesday, 17 November 2010
Personal developement
This year I will be working on a short film called “Patience.” The story itself revolves around a hit man called Frank. He is roughly in his late forties caught in a downward spiral of criminal blackmail and corruption. He ultimately has to decide whether or not to kill his lover or discard the contract completely. The story features the moral struggle that Frank faces, does he overcome the shackles of his past or do they consume him.
Lately I have been working on various concept designs for the main character Frank as well as making 3d models for the various scenes in the story such as chairs, sofas, tables and the apartment itself.
In order for these objects to work within the scene they have to be relatively low in resolution that is to say that they can be made only by a few polygons. However, they need some resolution so when they are sub divided they retain hard edges and slight bevels.
I didn’t have much knowledge in sub divisional models prior to the project. In order to create objects that would have high detail when rendered I needed to find out how to use edge flow and sub divisions in Maya effectively. I looked at various tutorials online such as you tube and digital tutors. I acquired some video tutorials from my father who works in the film industry. Some of these video tutorials were very helpful indeed. I needed to create a space for the main character within Chris’s story. The space had to be big enough for the character to walk around in and had to be big enough for several pieces of furniture such as a table and chair as well as a sofa. Although the floor plan had been drawn up I still had to use the geometry in the space to my advantage. For example the geometry had to be good enough for manipulation as well as rendering and UV mapping. If the polygons within the scene were made up of more than 4 sides this would cause discrepancies within the mesh, which would cause problems when it came to texturing the surfaces in the room.
The tutorials were very helpful in this respect as it helped me to construct the apartment space in a logistical and pragmatic manner with good workflow. The tutorial itself from digital tutors also went into great detail in making furniture in the room. Although the chairs and table were too modern for the story I used the tools and techniques and applied them to the objects Chris wanted. I also learned of about new tools that could create nice effects very quickly. These tools include things like taper, and bevel to create seem lines on cushions for example. Knowing where these tools are and how to apply them will be hugely beneficial when it comes to modelling objects in the future within Maya.
I have also been experimenting with Zbrush recently. It is a sculpting program heavily suited for character creation. This programme has made the concept stage so much easier as I can create character busts in a very short amount of time. This is very handy if someone wants a character design done. Using the programme I can manipulate the mesh to the specifications of the director. Rather than drawing up several concepts for a character I can narrow that down just to one. Zbrush makes it very easy to adjust features like the ears, nose mouth and eyes very quickly as well as the width and height of the head itself. This saves huge amounts of time in the production process.
I have been using video tutorials online, which primarily deal with zbrush characters and creature creation. Although this has no direct relevance to the projects I am working on at present it has given me a better insight into the way in which anatomy works. For example the artist who works for pixologic starts off his character by blocking in the basic shapes of his character moving the geometry into position to get a rough silhouette. Then you can start building up muscle and bone structure using the default tools available. Although the tutorial primarily deals with creating some sort of demon the character itself is largely based on real human anatomy. The artist shows you where the defining features of the face are the bone mass near the corner of the eyes as well as the supple flesh around the nose and mouth. By observing the way in which he creates his images I have a better understanding of the way in which muscles relate to each other and the dramatic changes in exterior appearance through bone matter.
I have not just gained an insight into the inner workings of the human body but also the workings of software like zbrush. The tutorials themselves deal with a whole range of techniques and effects created by different tools and parameters. For example I have learned to create supple skin tissue using the clay tubes brush which when smoothed can also create muscle tone. I have been exposed to the way in which alpha channels work to create detailed patters such as leathery skin as well as hair. Just talking to students at college I have learned a few tricks, which make the production process easier, more productive with a better quality result. All this information will be hugely beneficial to my artistic development and will ultimately augment my portfolio.
Kofi's Character for Heroes
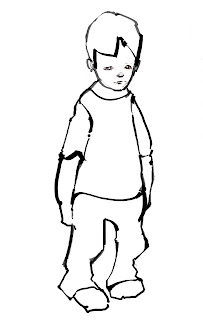
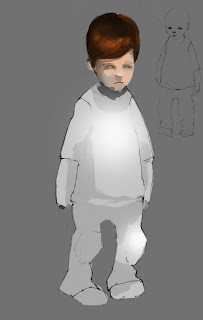
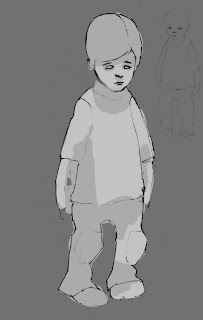
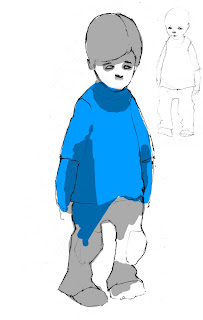
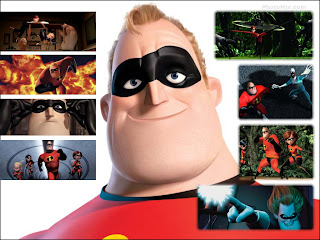
My brother had designed a character concept for Kofi's protagonist earlier in the production phase. However, we came to the agreement that the character looked to old for the story. Kofi wanted a character that was roughly 5 years old. The character had to be slightly chubby. The character is an adorable little child that thinks he has super powers, so I thought that the character might be too big for his own shoes. That is to say he thinks he knows how the world works but is ultimately naive. When designing the character I set about by sculpting the characters head as this was the most important part of the character. It is here where the character takes shape as we can relate to the visual qualities of the subject. Kofi gave me lots of reference from various pixar films such as ratatouille and the incredibles. I also looked at real photographs of young children to fully understand their facial characteristics.
Many 5 year olds have slightly supple skin and their heads are quite large in comparison to their bodies. When sculpting the character I tried to take these points into consideration. The character himself had to be slightly stylized to fit in with the bright environment around him. When sculpting the boy's facial features I started by blocking in the eyes nose and mouth to get a better idea of the character. I started sculpting the character in zbrush for one of two reasons. The first was to really understand the boys facial characteristics and really explore his appeal. The second was purely about getting the character sorted relatively quickly. The beauty of using zbrush as conceptual tool is that you can adjust whatever it is your sculpting quite quickly. I was able to show Kofi my progress and if there were features that needed adjustment I was able to do it relatively easily. I was able to sit down with Kofi over my shoulder so he could point out areas that needed improving. This was great as I could model the character exactly as he wanted.
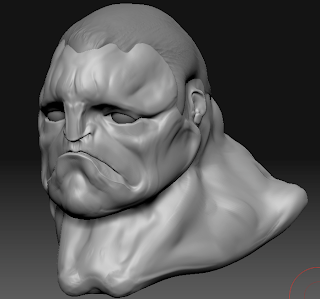
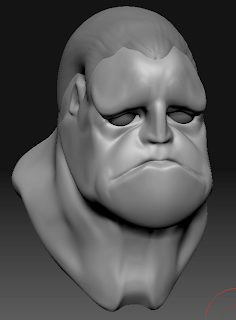
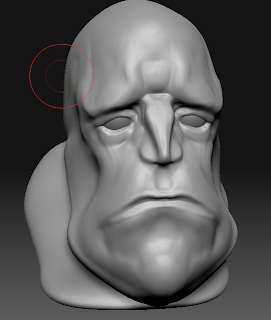
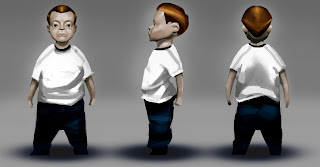
Here are some of the sculpts that I created using Zbrush. Using the reference material Kofi gave me I set about creating a character. I paid careful attention when creating the supple skin as well as the small stubby nose. The eyes were a huge selling point and these needed to be jst right in order to make the character appealing.
The first image was created early on in production using the reference available to me. Originally Kofi wanted the boy to have some sort of a quiff, this was abandoned however as it didn't fit the character as it made him feel to old. The first image is highly stylized but I was later told he looked to old as his skin didn't feel supple enough. With constructive criticism from various students as well as kofi's instruction I set about adjusting the characters features. For example I made the ears smaller, I brought the eyes down towards the cheeks and created a more realistic mouth for the character getting rid of the hard edges. I think the first character failed to inspire Kofi because of his elongated neck which was not befitting to a 5 year old. I tried stylizing the boy too much, but I leaned some valuable lessons in character development as well as proportion.
Zbrush allowed me to do this quickly and effectively which will hopefully speed up production time. If I had drawn the images, no matter how fantastic they would have been they would not have met the requirements in Kofi's story. His vision is paramount and Zbrush allowed me to create a character very near to what Kofi had envisioned.
I learned some very important things here not only about character proportions but also about the pipeline. Rather than doing many concepts that would have been time consuming I narrowed it down to around three which will be beneficial to Kofi's tight schedule.
The second character created in zbrush is far more suited to Kofi's story and specifications as he looks more like a naive but adorable little boy than an old man! I am ver pleaded with the way in which the character turned out, but I suppose I was more overwhelmed with the amount of constructive criticism that turned the character into what he is now. I am very grateful to all those who inspired me and taught me a few things during the characters creation.
Wednesday, 10 November 2010
Small Group
Reasons for Choosing Patience
Mood Board
Character designs
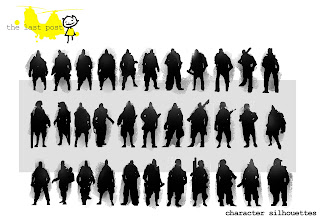

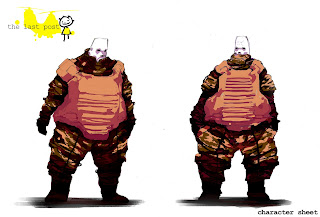
Storyboard for the Last Post
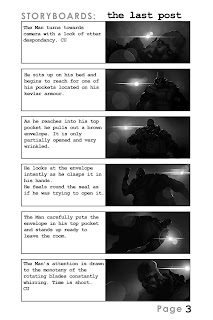
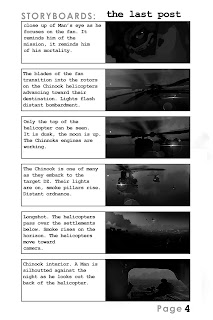
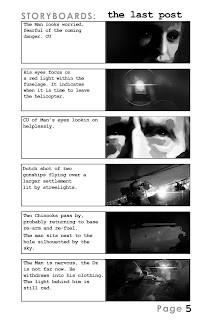
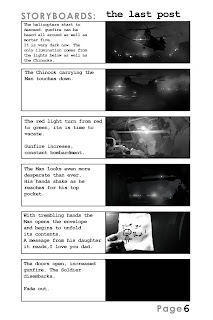
Last Post Script
A faint whirring sound grows louder. Its source getting closer..
FADE IN:
EXT. MIDDLE EAST SKYLINE - DUSK
CHINOOK TRANSPORT HELICOPTERS pass the horizon above small settlements. Smoke pillars can be seen in the distance.
INT. APARTMENT - DUSK
A man’s face. His features indicate a strong, physical person. However, his expression indicates unhappiness and desolation. Only the side of the MAN’s face can be seen as he looks at the fan. The MAN seems to be waiting for something, lying down looking beyond the monotony of the rotating blades of the fan. The MAN is backlit from some kind of strong light source, al light bulb .His eyes open and close as he thinks to himself. Again he looks at the fan and turns his head.
He rolls over and sits up. He focuses on his front pocket above his Kevlar vest. He reaches for the envelope inside the pocket. It is partially opened. The MAN reaches for it and holds it in one hand. It is wrinkled and worn. He stares at the envelope near his face intently.
He seems to know the contents within the worn envelope. His eyes close as a worried look consumes his face - a look of utter sadness. The MAN rests the envelope on his chest. The MAN turns his head facing the fan as it rotates endlessly. Time is short the mission is near.
The spinning of rotor blades can be heard as we close in on the fan.
DISSOLVE TO:
EXT. DESERT – DUSK
The fan becomes the rotor blades of a CHINOOK TRANSPORT GUNSHIP. The helicopter appears to be moving fast high above the baron desert below.
INT. CHINOOK - THAT MOMENT.
The MAN sits within this vast military vehicle looking out into the coming night through one of its tiny portholes. CU on the MAN’s eyes - a sense of emotional attrition. His chest pocket contains the brown envelope we have seen before. It is still only partially opened.


